Publisher: Supplier of LED Display Time: 2023-12-28 08:49 Views: 1437
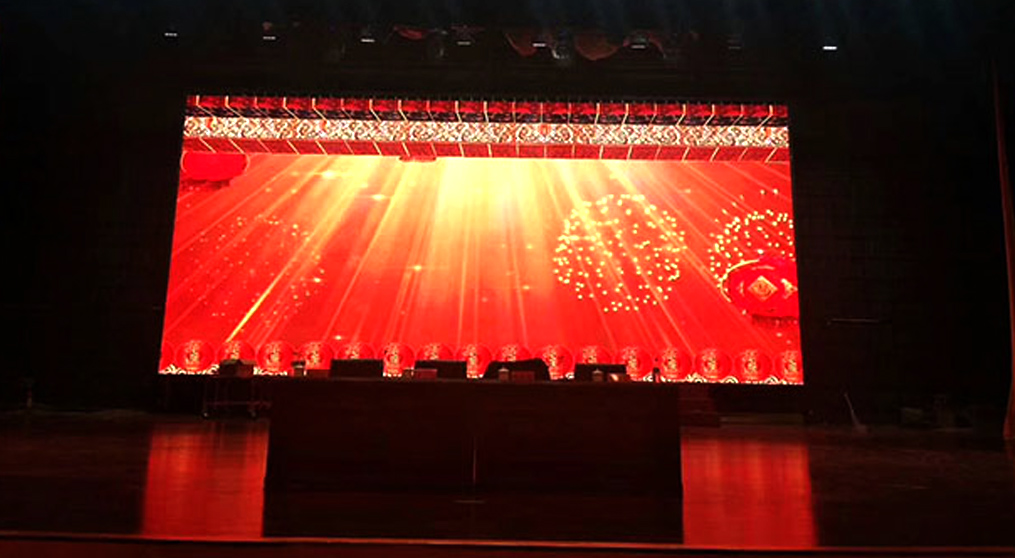
With the progress of science and technology, full-color LED display has become an important visual display tool in various occasions. Not only do they deliver high-quality images and videos, they also maintain clarity and color brightness in a variety of light conditions. However, installing a full-color LED display can be a complex task. Today, LCF editors will provide you with a detailed installation tutorial to help you easily complete the installation of a full-color LED display.
First, preparation
Determine the installation location: Choose a flat, unobstructed wall or bracket to ensure that the display is stable and easy to view after installation.
Tools: screwdriver, electric drill, hammer, wrench, measuring ruler, marker, cable, power cable, connector. Procedure
Check accessories: Make sure you have all the necessary accessories such as display, control card, power supply, data cable, etc.
Second, installation steps
Measuring the wall: Use a measuring stick to determine the size and installation position of the display, and use a marker to mark the location of the installation hole on the wall.
Drilling: Use an electric drill to drill holes at the marked locations, taking care to keep the depth and diameter of the drilling holes matched with the expansion screws.
Fixing the bracket: Insert the expansion screw into the drill hole and gently tap it with a hammer to secure it. Then fix the display bracket on the expansion screw to ensure that the bracket is level and secure.
Connect the power cable and data cable: Connect the power cable to the power input of the display, and connect the data cable to the control card. Make sure all connections are secure and not loose.
Mounting the display: Hang the display on the support according to the shape and size of the support, and adjust the position and Angle of the display to keep it flat and perpendicular to the ground.
Connect the control system: Connect the control card to the computer or other control devices, and configure and debug according to the software or driver provided by the manufacturer.
Test display: Turn on the power and check whether the display works properly. Play a test video or picture to see if the color, brightness and clarity of the display meet the requirements.

Third, precautions
During installation, ensure that the power supply is turned off to avoid the risk of electric shock.
When connecting power cables and data cables, ensure that the interfaces are correct to avoid short circuit or device damage.
When adjusting the position and Angle of the display, ensure that the display is secure and does not fall to avoid injury.
After the installation is complete, periodically check whether the fixing screws and connection lines of the display screen are loose or damaged to ensure safe use.
If you encounter any problems or difficulties, please contact the manufacturer or professionals for help.
Through the above detailed installation tutorial, I believe you have mastered the installation method of full-color LED display. By following these steps and precautions, you'll be able to easily install a full-color LED display to add a visual feast to your event or venue.
The above is the related knowledge summary of the full-color LED display installation tutorial organized by the LCF editor. I hope it will help you, and welcome you to supplement or correct it. LCF is a national specialized "little giant" enterprise, set "hardware + software + content + interaction" as one of the LED display application and solution provider. If you need to buy LED outdoor display friends can also directly contact LCF LEDdisplay manufacturers Oh, big country brand, trustworthy!


Shenzhen LCF Technology Co., Ltd.
Support Hotline
400-618-8884 / 0755-66833488(+86)187-0755-0669
Company Address
LCF Sound & Optoelectronics Industry Park, Gushu, Bao'an District, Shenzhen.
Copyright © 2004-2026 LCF LED Display Screen All rights reserved. Guangdong ICP 15089785-3 Subsidiaries: Dongguan Tongdachuang Industrial Co., Ltd., Anshun Lianshunda Technology Co., Ltd. (holdings)